
Printing and embroidery
How to Choose Blank Shirts and Fleece for Embroidery
Match the blank and logo together, then check a real stitch-out before approving the run.
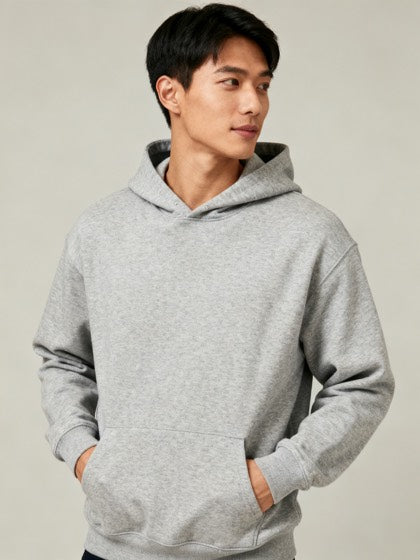
Choose an embroidery blank by how the garment, logo and stabilization plan work together. Fabric weight alone cannot approve the job. Send the embroiderer the exact blank and artwork, then evaluate a stitch-out on that garment before buying the full run.
Start with the logo and placement
Provide the final artwork and intended dimensions. Ask the embroiderer to assess small lettering, narrow gaps and filled areas at that size. Specify the placement rather than relying on a phrase such as “normal chest position.” A placement sketch with dimensions is easier to approve and reproduce.
Look at the garment’s seams, pockets, hood and interior access. A design that looks centered on a flat illustration may sit differently when worn. For a hoodie, check the proposed back placement with the hood down as well as up.
Ask how the knit will be supported
Madeira’s backing guide identifies cut-away stabilizers for knit and other stretchy fabrics, with different weights for different fabric and design demands. The relevant choice depends on the garment and embroidery, not just a rule to use the thickest backing available. See Madeira USA: Basic Cut Away Backing Guide.
Ask the embroiderer to explain the proposed backing, how much will remain inside the finished garment and how it will feel against the wearer. This is especially useful for a fitted tee or an item worn directly against skin.
Compare a tee and fleece as different candidates
| Candidate | What to assess with the embroiderer |
|---|---|
| H1003 Ring-Spun Cotton Tee | How the logo size, stitch-out and backing sit on the tee, including comfort inside. |
| H3001 Women’s Fitted Tee | Whether the proposed design and placement suit the fitted cut and intended movement. |
| H9002 Heavy Fleece Hoodie | How the embroidery looks on the fabric surface and clears the hood, pocket or seams. |
These are garments to assess, not a promise that every logo can be embroidered on every style. If a sample does not work, discuss a smaller or simpler design, a revised position or a different blank.
Review the stitch-out front, back and when worn
- Check the lettering. Read it at normal viewing distance and compare it with the approved artwork.
- Check the surrounding fabric. Look for unwanted gathering or distortion around the design.
- Check the reverse. Review backing, finishing and any uncomfortable edges.
- Try the garment on. Check the placement and appearance in its intended fit.
- Review after care. Follow the supplied instructions, then repeat the appearance and comfort checks.
Keep the approved stitch-out or a dated record with the final artwork size, placement and style. For repeat orders, give the embroiderer the same reference and flag any change of blank, color or logo.
Read the decoration guide for the wider production brief and the fabric-weight guide before comparing fleece numbers. Browse fleece or T-shirts, and request a sample to make the comparison concrete.